Quickstart
Here's a quickstart guide to get you started with DSGL.
1) Add the library to your project
Add one of the following repositories to your build.gradle.kts file (or other place where you define your project
dependencies):
GitHub Packages:
repositories {
    maven {
        name = "GitHubPackages"
        url = uri("https://maven.pkg.github.com/Dreamfinity/DSGL")
    }
}
or our Nexus Repository:
repositories {
    maven {
        name = "DreamfinityNexus"
        url = uri("https://nexus.dreamfinity.org/repository/maven-public/")
    }
}
Then add dependencies - org.dreamfinity:dsgl-core for core functionality and org.dreamfinity:dsgl-<adapter-name>:dev as
an adapter for your game
Example:
dependencies {
    implementation("org.dreamfinity:dsgl-core:0.0.1")
    implementation("org.dreamfinity:dsgl-mc-forge-1-7-10:0.0.1:dev")
}
List of available adapters:
2) Create a window
import org.dreamfinity.dsgl.core.DomTree
import org.dreamfinity.dsgl.core.DsglWindow
import org.dreamfinity.dsgl.core.style.Display
import org.dreamfinity.dsgl.core.dsl.*
import org.dreamfinity.dsgl.core.style.FlexDirection

class HelloWindow : DsglWindow() {
    private var clicks by state(0)

    override fun render(): DomTree = ui {
        div({
            key = "hello.root"
            style = {
                display = Display.Flex
                flexDirection = FlexDirection.Column
                padding = 6.px
                gap = 4.px
            }
        }) {
            text("Hello DSGL")
            text("Clicks: $clicks")
            button("Click me", { onMouseClick = { clicks += 1 } })
        }
    }
}
Star import
You might mention import string import org.dreamfinity.dsgl.core.dsl.* in the code above. It imports
all available DSL functions (but elements only) into the current scope. You can also import only the functions you need, but
requires you to inspect the documentation for the list of available functions. So you can use the star import
if you are not sure what functions you need.
3) Mount it in a screen host
// Minecraft Forge 1.7.10 only
import net.minecraft.client.Minecraft
import org.dreamfinity.dsgl.mcForge1710.DsglScreenHost

class HelloScreen : DsglScreenHost(HelloWindow())

fun openHelloScreen() {
    Minecraft.getMinecraft().displayGuiScreen(HelloScreen())
}
Note
You can even do this with an anonymous object, overriding some internal functions:
// Minecraft Forge 1.7.10 only
fun openHelloScreen() {
    Minecraft
        .getMinecraft()
        .displayGuiScreen(object : DsglScreenHost(HelloWindow()) {
            override fun doesGuiPauseGame() = false
        })
}
4) Register a key handler in any way you prefer
@SideOnly(Side.CLIENT)
object DsglClientHotkeys {
    private val openShowcaseKey = KeyBinding(
        "key.dsgl.open_showcase",
        Keyboard.KEY_J,
        "key.categories.dsgl"
    )
    private var registered: Boolean = false

    fun register() {
        if (registered) return
        ClientRegistry.registerKeyBinding(openShowcaseKey)
        FMLCommonHandler.instance().bus().register(this)
        registered = true
    }

    @SubscribeEvent
    fun onKeyInput(event: InputEvent.KeyInputEvent) {
        when {
            openShowcaseKey.isPressed -> Minecraft
                .getMinecraft()
                .displayGuiScreen(object : DsglScreenHost({ HelloWindow() }) {})
        }
    }
}
And now you can open the screen with J key.
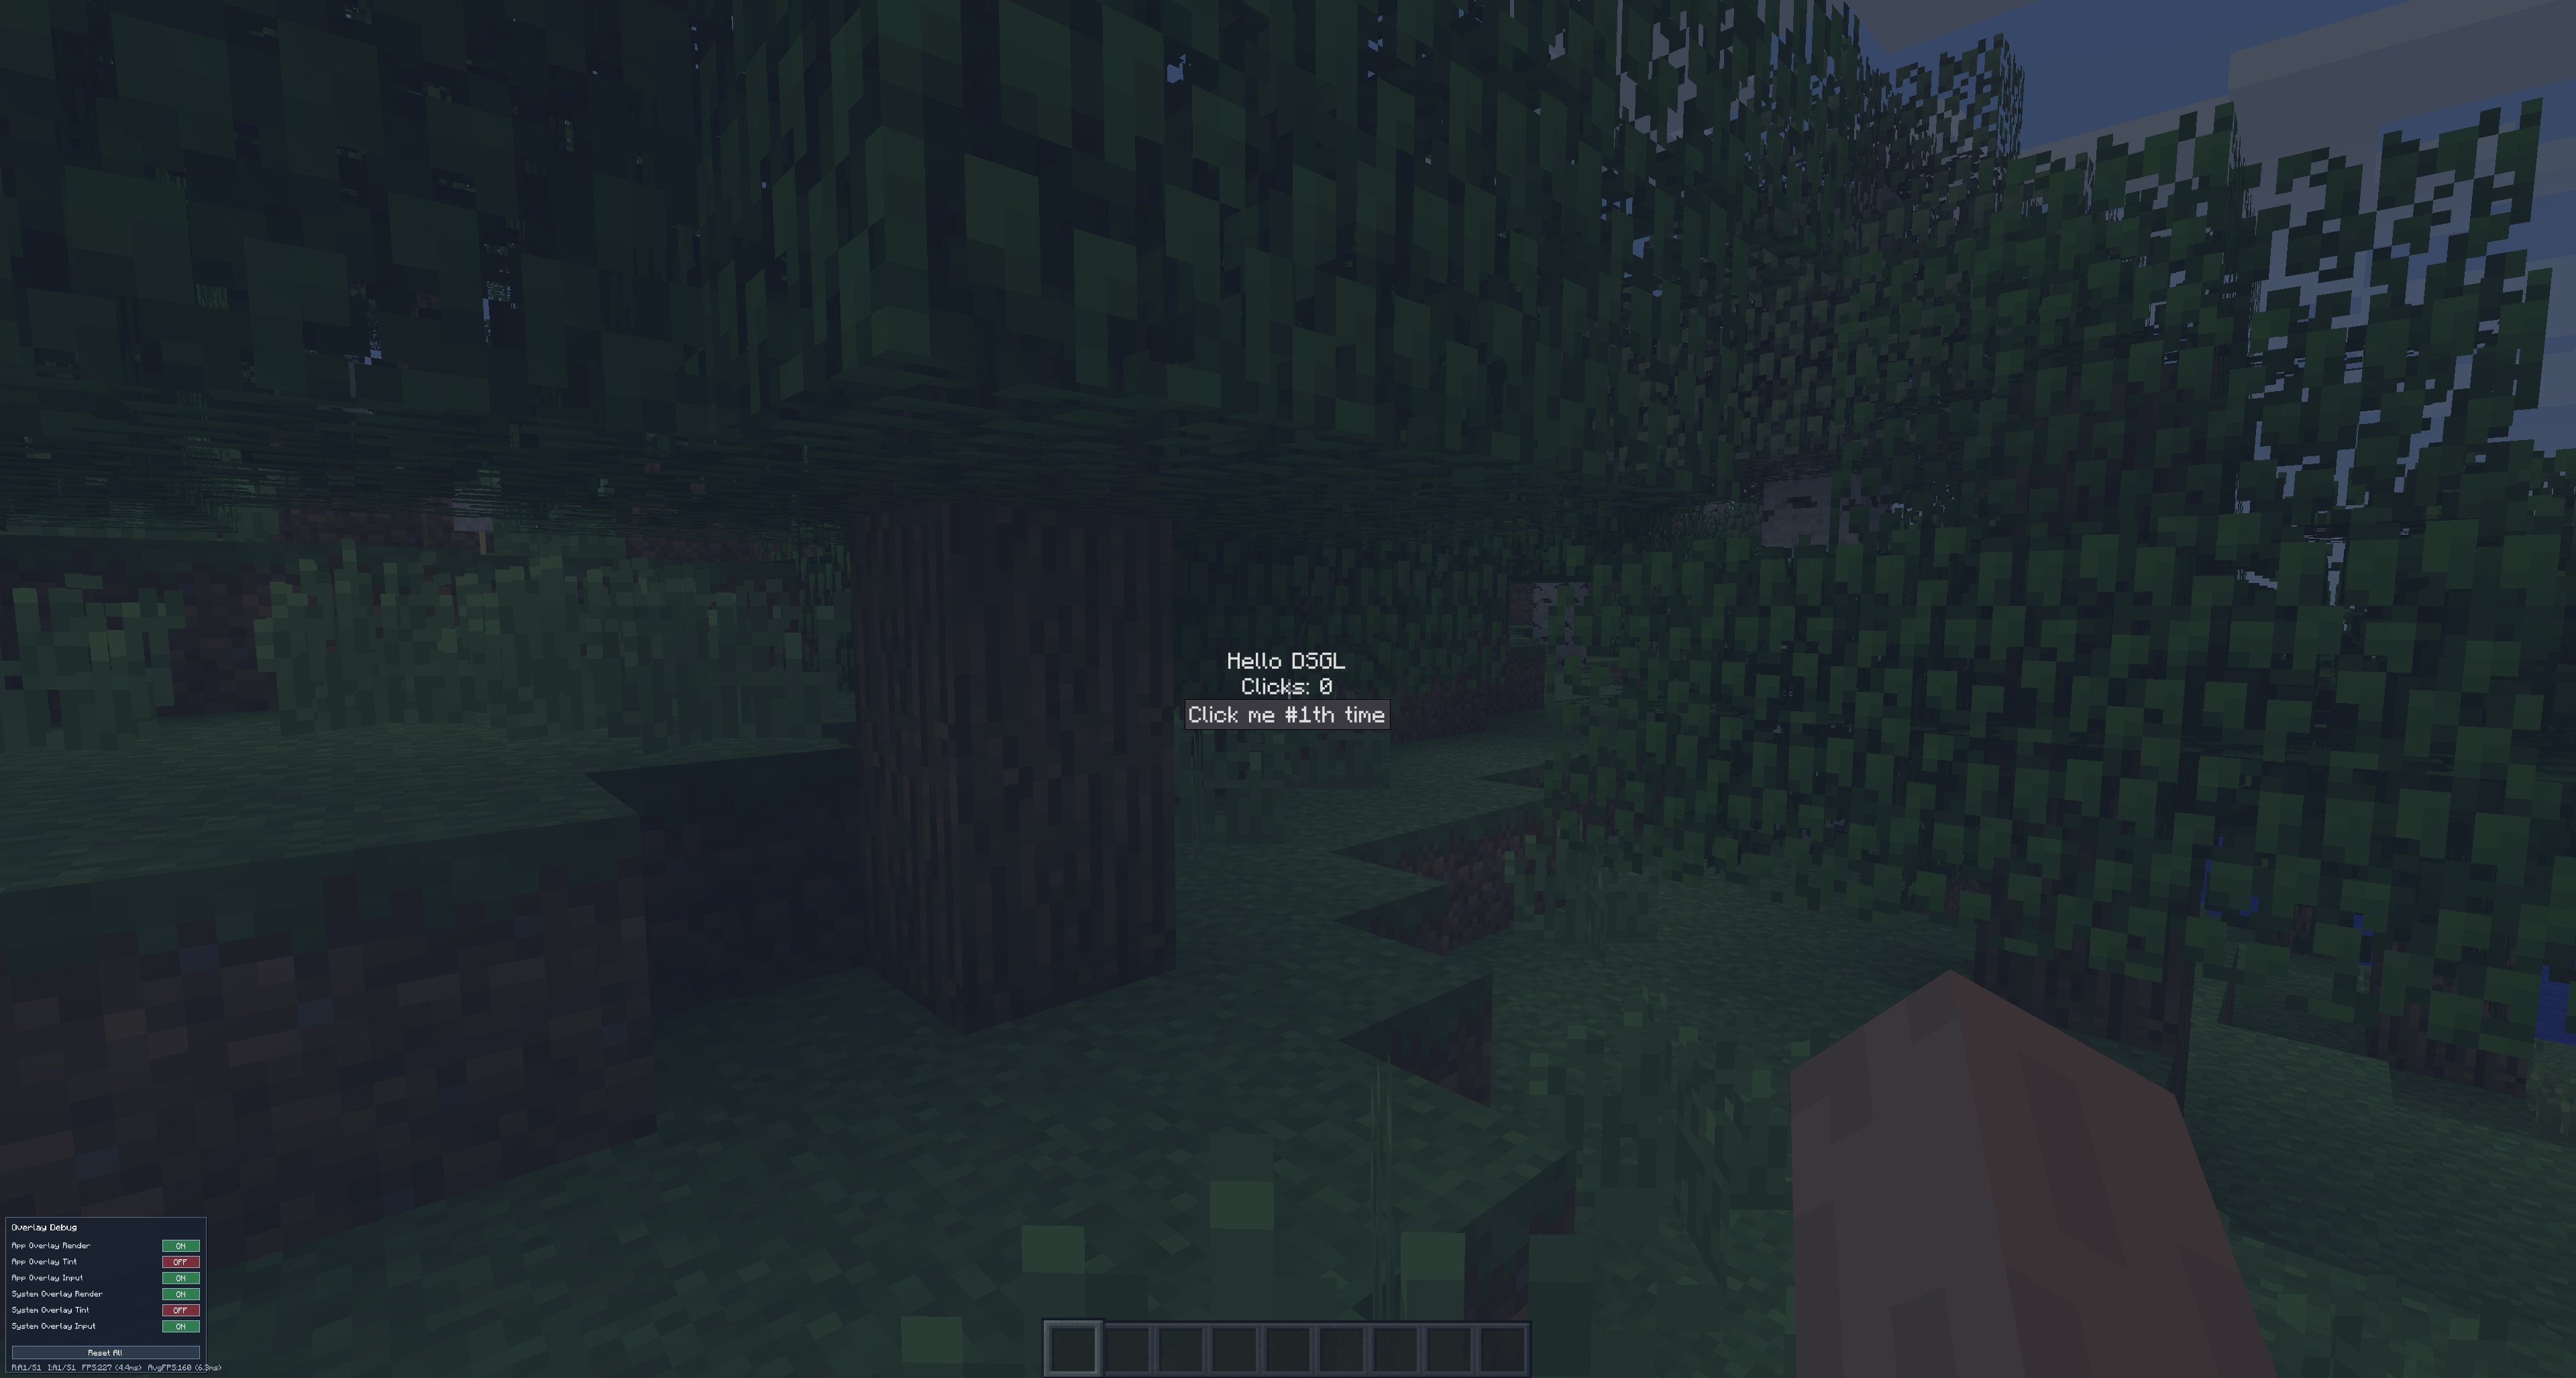
Small overlay panel
You might mention a small overlay panel in the left bottom edge. It has debug-only functions and some information about the current window (overlays settings and immediate+sliding window FPS counter). It will be removed in the release (or at least hidden by default).
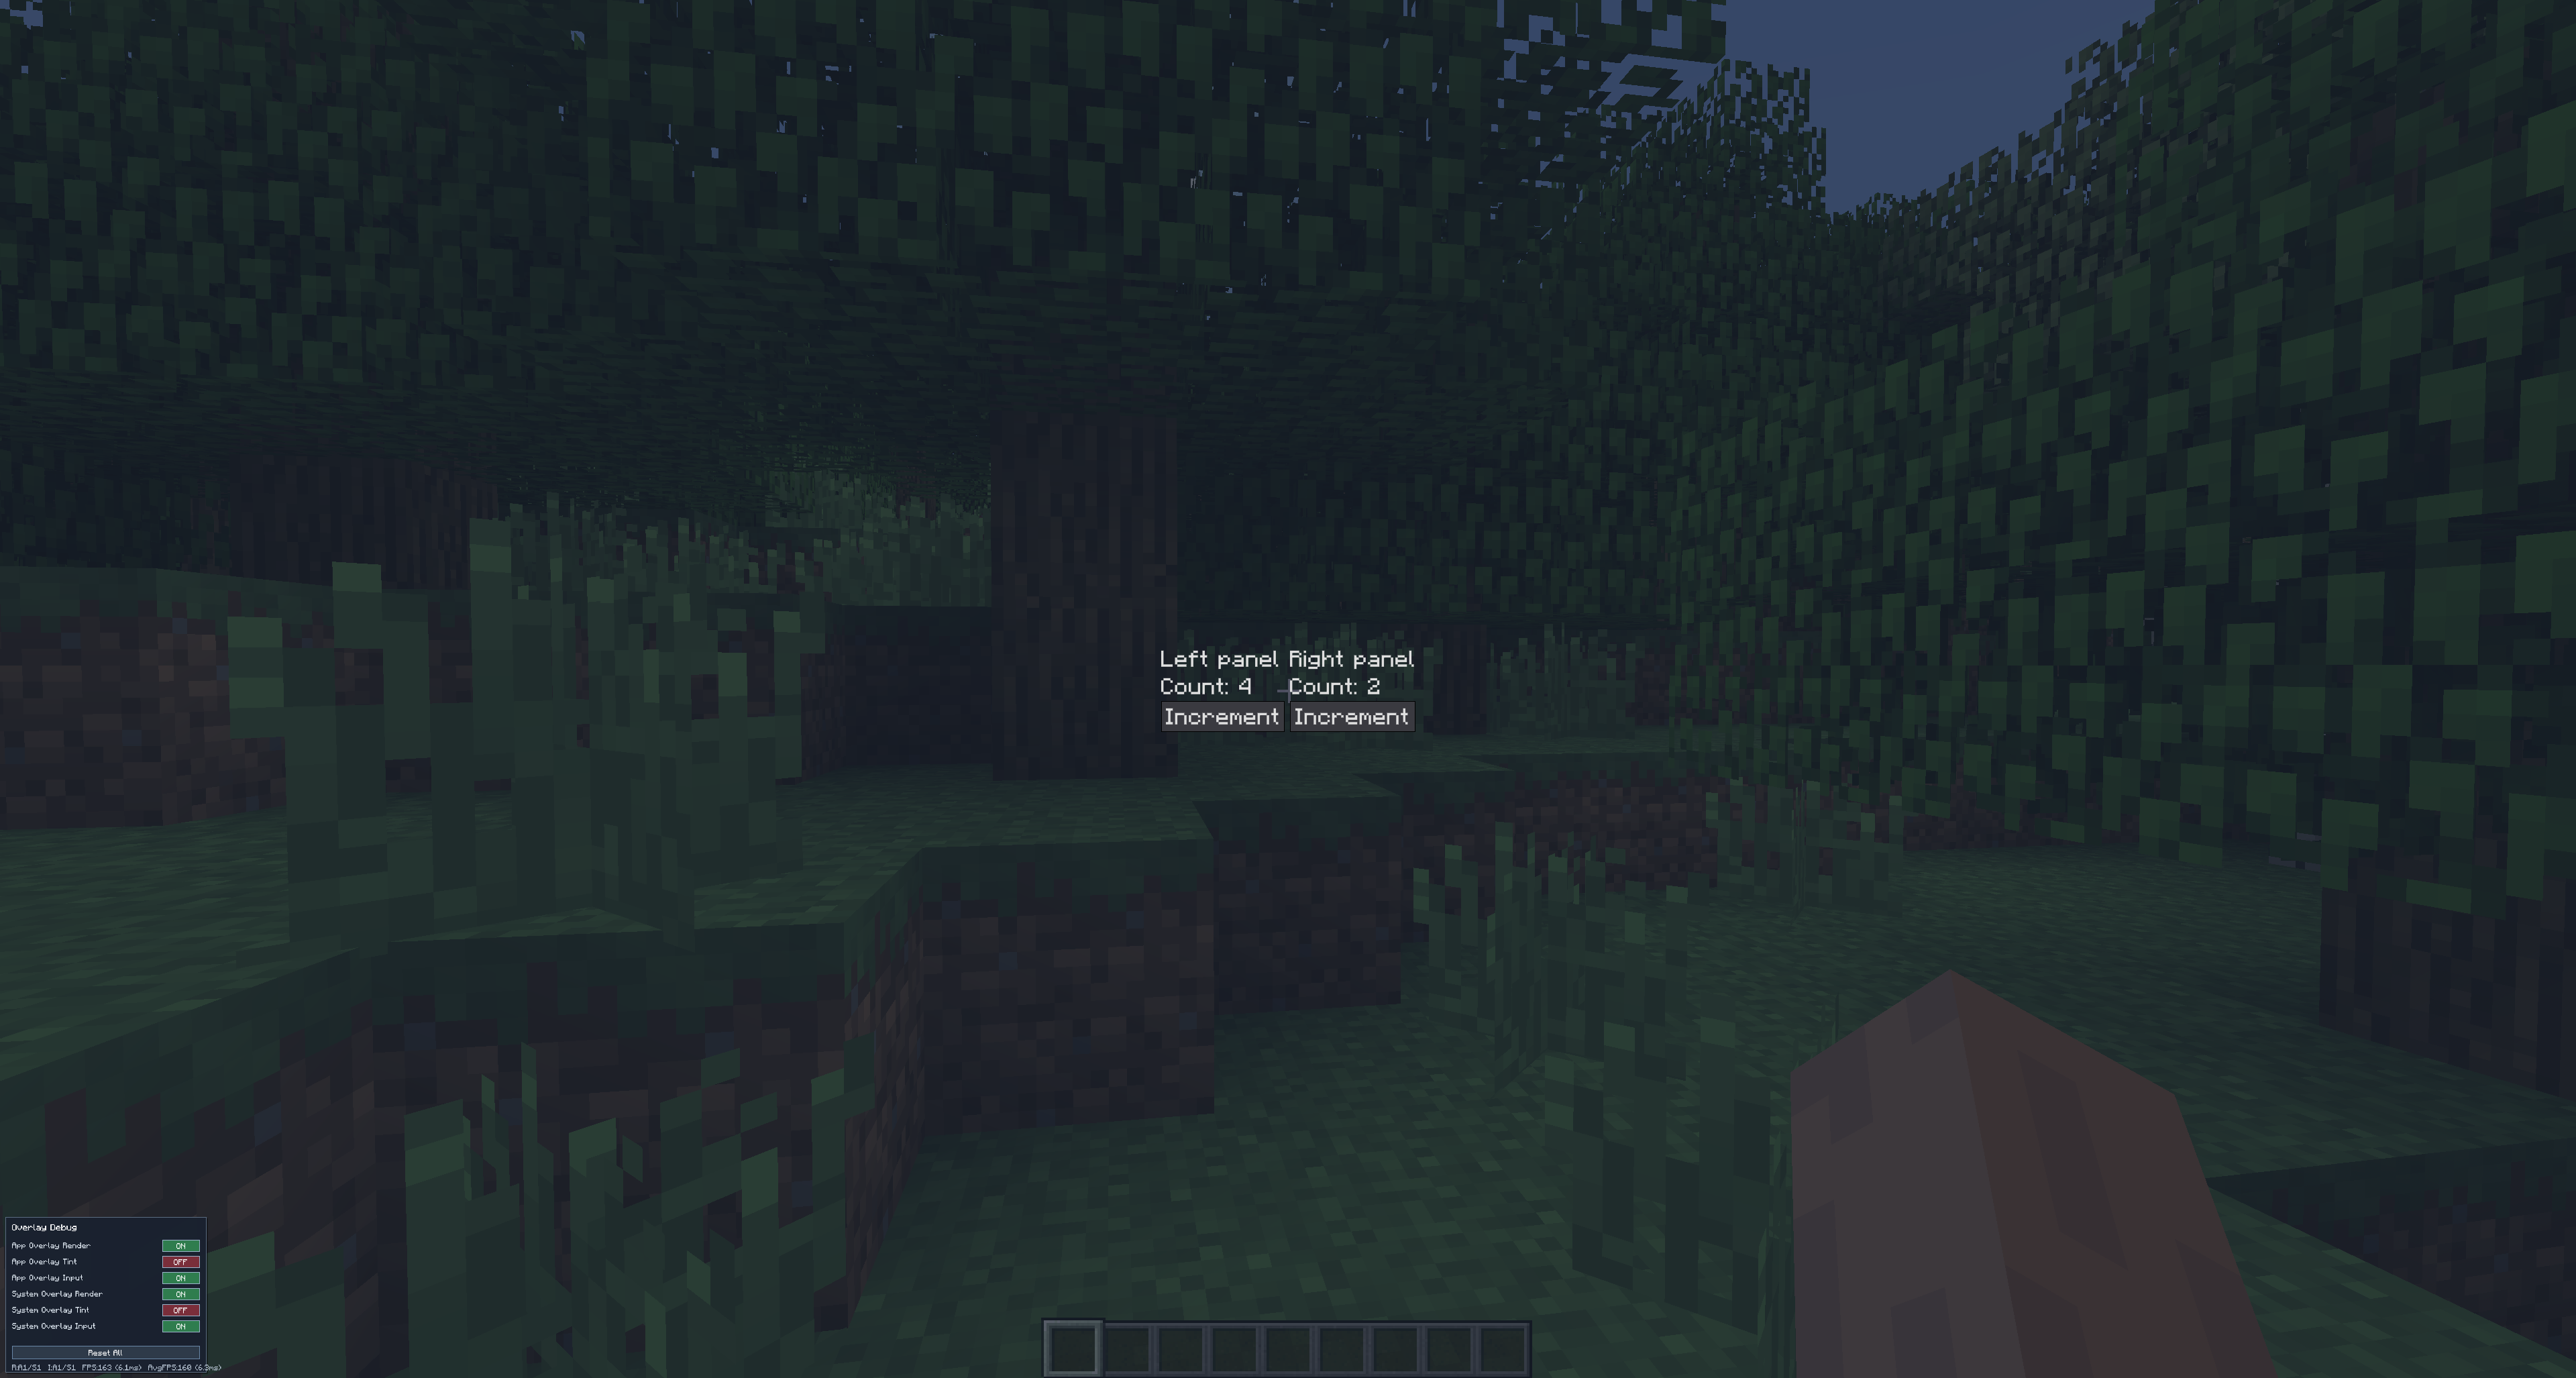
5) Compose reusable components
In DSGL a practical custom component is usually just a UiScope extension
import org.dreamfinity.dsgl.core.UiScope
import org.dreamfinity.dsgl.core.dsl.*
import org.dreamfinity.dsgl.core.hooks.useState
import org.dreamfinity.dsgl.core.style.Display
import org.dreamfinity.dsgl.core.style.FlexDirection

fun UiScope.counterCard(title: String) {
    var count by useState(0)

    div({
        key = "counter.$title"
        style = {
            display = Display.Flex
            flexDirection = FlexDirection.Column
            gap = 3.px
            padding = 4.px
        }
    }) {
        text(title)
        text("Count: $count")
        button("Increment", { onMouseClick = { count += 1 } })
    }
}
Call it from render() like any other DSL function:
override fun render(): DomTree = ui {
    counterCard("Left panel")
    counterCard("Right panel")
}
Next: State and reactivity.